
Hi my Stampin’ Friends,
today’s video came about as so many of my subscribers requested that I make a video showing how I made the Storage Box that I showed last week during my video for the Clipboards with Handy Notebook and Pen.
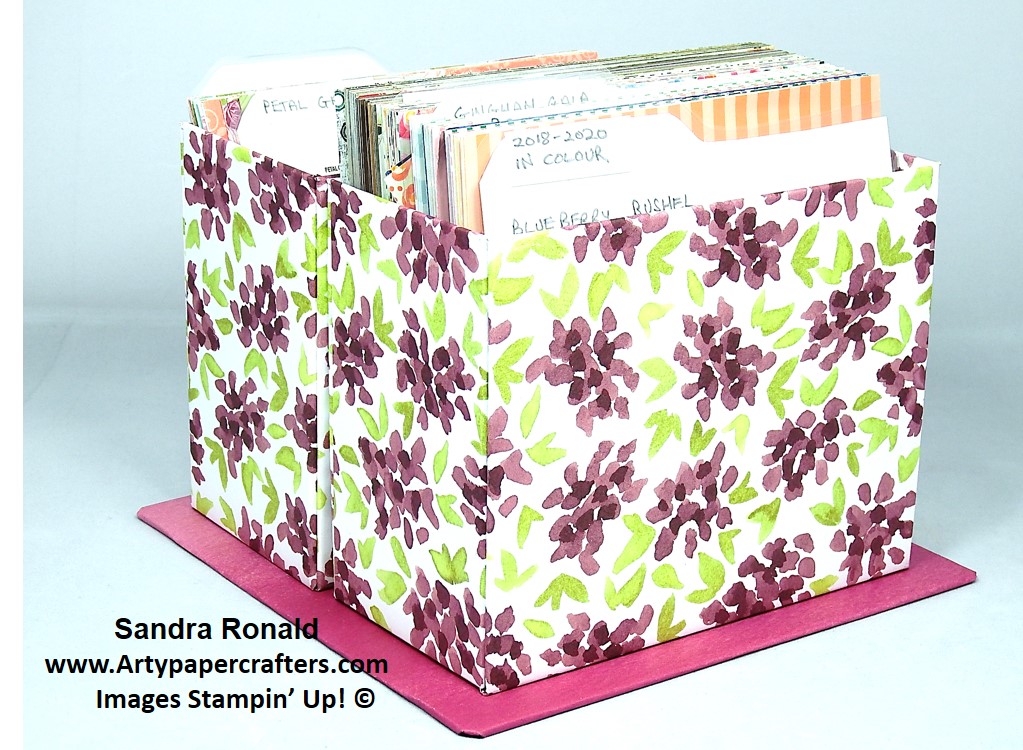
So by popular demand here is the video. These storage boxes are an absolute genius for your craft room and now that I have made 5 of them they are proving to be so useful. Before I made these my 6 x 6″ DSP and my embossing folders were banished to a drawer and I always seemed to forget I had them. However, now they are on show on my crafting desk there for me to use whenever I want to make another project. Fantastic! I love them.
My inspiration for these came from Sam at Mixed Up Craft and you will find her video on YouTube should you wish to view it.
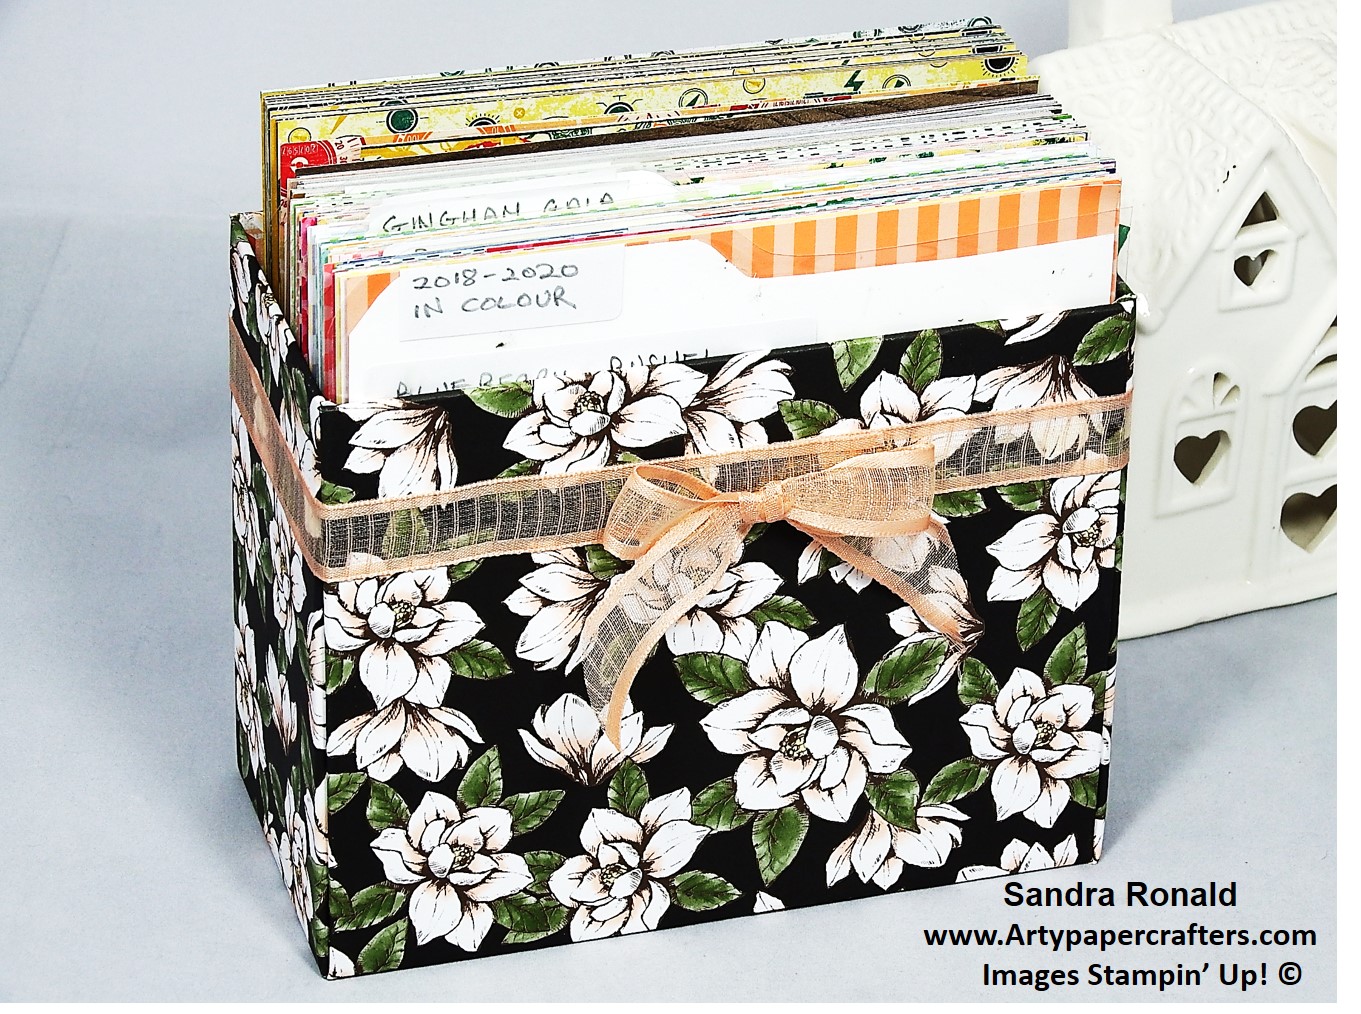
They look complicated to make but trust me once you have made one, you will definitely be excited to make another. Perhaps like me you will end up with 5 of them. In the attached video I am giving you a sneak peak of some gorgeous Stampin’ Up! Designer Papers that are available to purchase from the 4th June, which I have used to cover my Storage Box. Ooooh so lovely!!!
Thanks for watching the video and I certainly hope that you will be inspired. Please don’t forget to subscribe to my blog and YouTube channel under Sandra Ronald. Many thanks x
Should you need any Stampin’ Up! crafting supplies I would be extremely grateful if you could purchase from my Online Shop (located at the top right hand corner of this post, THE BIG RED BUTTON). Add my hostess code for the month of MAY and I will send you an extra little gift at the end of the month.
Happy Crafting WITH LOVE from SANDRA xx
Measurements
Chipboard (5 pieces in total, which makes one box)
cut at 6 1/4 x 5″ (16 x 13 cm) (cut 2 of them) (these are for the front and back)
cut at 5 x 3″ (13 x 7.5 cm) (cut 2 of them) (these are for the two side panels)
cut at 6 1/4 x 3″ (16 x 7.5 cm) (cut 1 of them) this is for the BASE
Magnolia Lane Designer Series Paper (available to purchase from my website on the 4th June)
(make sure before you cut it that if you have a pattern it is the right way up) measuring 12 x 12″ (30.5 x 30.5 cm)
Cut at 7 3/4 x 6″ (19.5 x 15 cm) (CUT 2 of THEM)
Cut the other piece you have left in half on the 12″ (30.5 cm) side at 6″ (15 cm) (you will have 2 of them)
Place double sided tape on the 6 1/4 x 5″ and 5 x 3″ pieces (16 x 13 and 13 x 7.5 cm) and cover with the Magnolia Lane Designer Papers.
Do not cover the base. You will be attaching your other pieces to this later on.
Should you feel confused, then follow my video step by step making your box along with me. You can pause it at any time while you catch up.
Base Board for 2 Boxes
Chipboard 7 1/2 x 7 1/2″ (19 x 19 cm)
Designer Series Paper to cover cut at 9 1/2 x 9 1/2″ (24 x 24 cm)
Base Board for 1 Box
7 1/4 x 4″ (18.5 x 10 cm)
Designer Paper to cover cut at 9 1/4 x 6″ (23.5 x 15 cm)
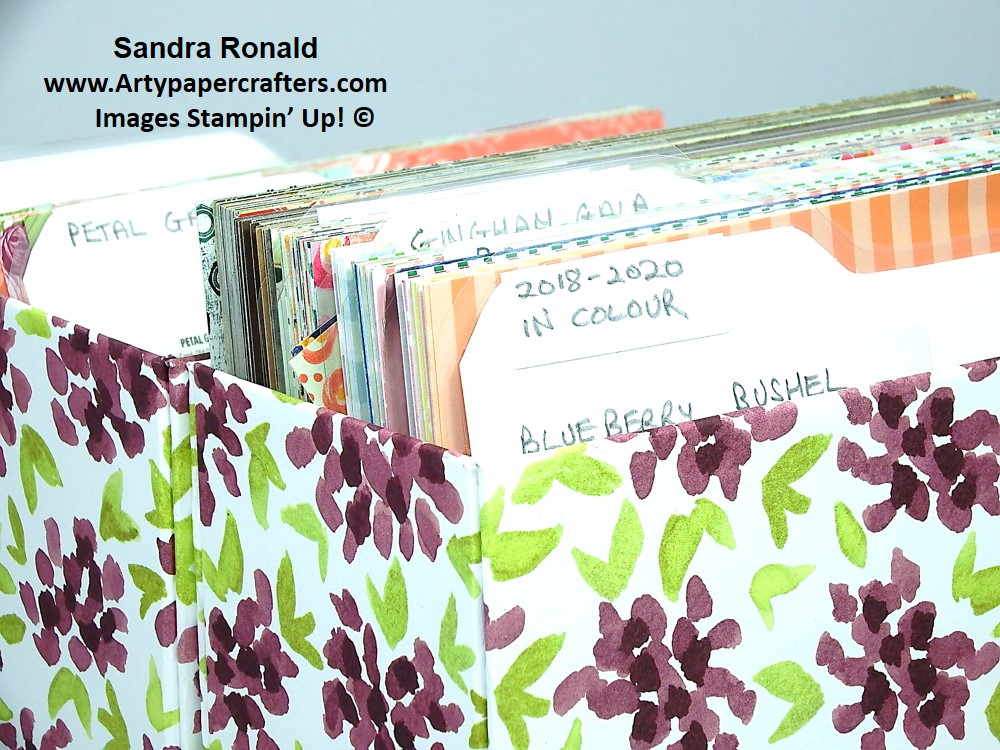
Dividers to place inside
Printer Paper cut at 6 x 5 3/4″ (15 x 14.5 cm)
Place into the Envelope Punch Board and punch right in the middle at the beginning of the paper. Then move along the board and punch at 3″ (7.5 cm)
Place in a laminating sheet and run through a laminator machine. Cut off excess leaving about a 1/8″ border). Place in your Storage Box. Make several.
Product List

Magnolia Lane Designer Series Paper [149484] £10.75

Petal Pink 5/8″ (1.6 Cm) Organdy Striped Ribbon [149441] £7.50

Tear & Tape Adhesive [138995] £6.25

Liquid Multipurpose Glue [110755] £3.75