
Hi my Stampin’ Friends,
today my project came about as I have lots of different types of glitter in my crafting stash, but never seem to use it. I don’t know why, perhaps because I wasn’t quite sure how to add it without getting it all over my crafting table, myself and the floor!!! Well I decided to get it out of the mothballs!!
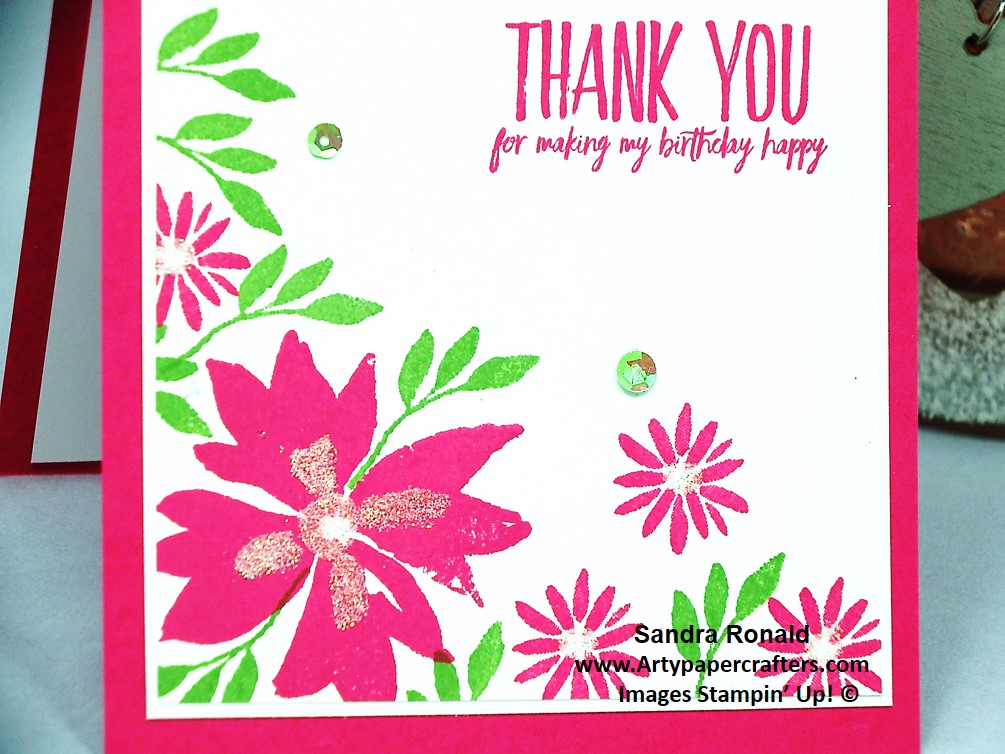
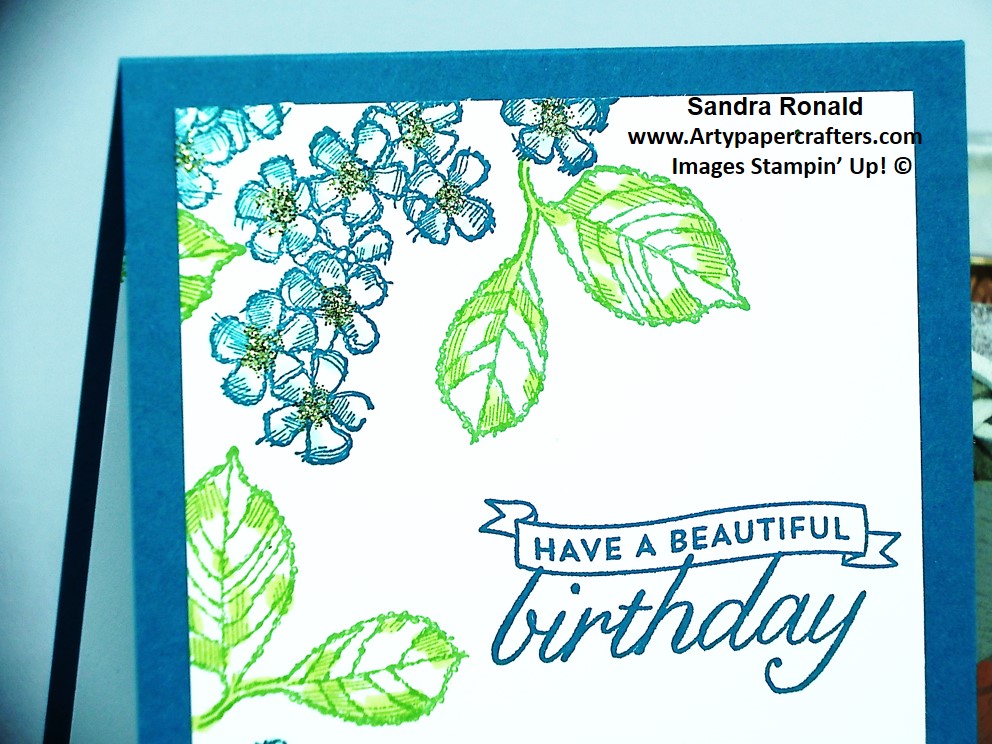
So I had a play and these are the two projects I came up with. I used two Stamp Sets, one called Birthday Blossoms and the other Blooms and Wishes. Both such fabulous Sets.
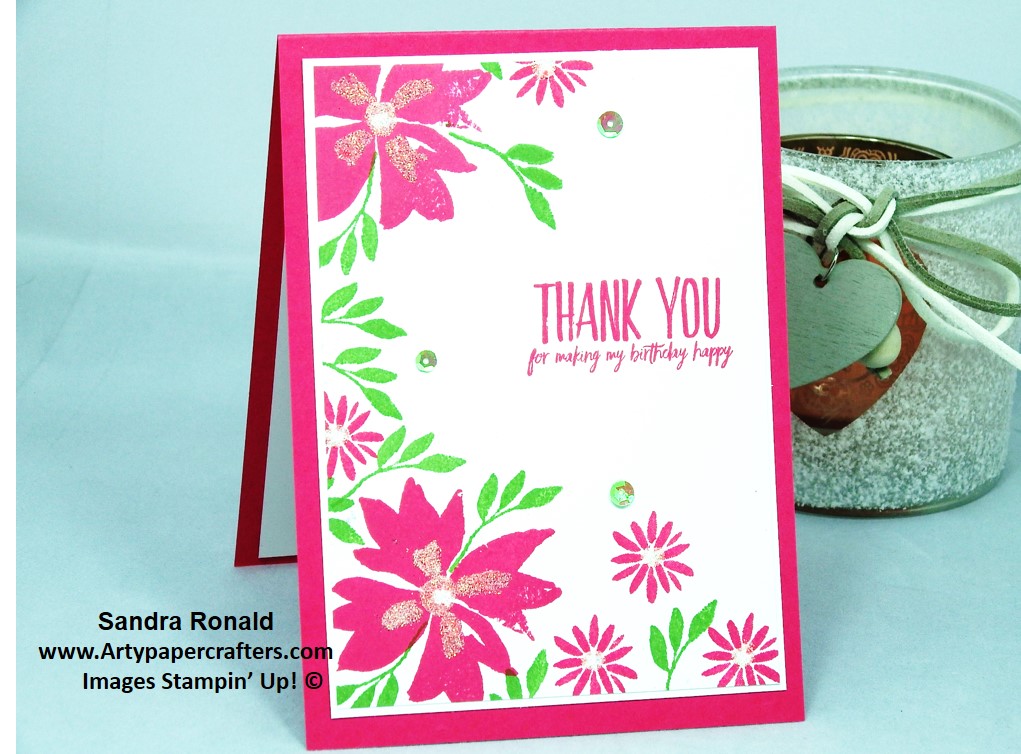
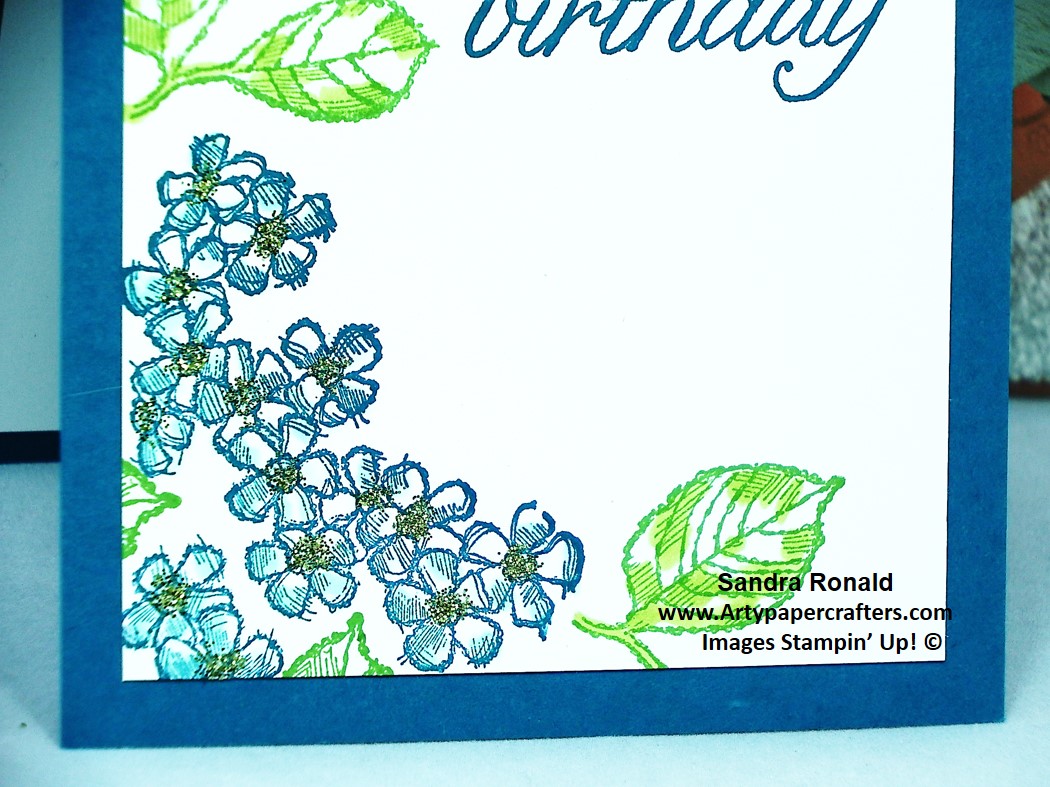
Using half a sheet of A4 Cardstock, as per my normal measurements (please see previous Cards) I created one in Melon Mambo and Wild Wasabi Inks and the other using Island Indigo and Old Olive.

Once I had stamped my flowers and sentiment I used some Gold Glitter which I dipped into some multi-purpose liquid glue on my Silicone Crafting Sheet. I used a paintbrush to paint it on to the centres of my small blue flowers.
This method worked very well and created no surplus mess on my desk or onto myself. It can easily be cleaned off the Silicone Crafting Sheet when you have finished using it.
My second Card I used some of the Dazzling Diamonds Glitter, but instead of brushing it on I sprinkled it on top of my glue that I had put down on the centres of each flower. This method also worked equally well and didn’t seem to create much mess at all.
Now that both of them have dried they both look equally stunning so now I can’t wait to add glitter to some of my 3D projects too!! Hope you like them too.
Thanks for dropping by today and HAPPY Crafting WITH LOVE from SANDRA xx
Independent (Silver) Demonstrator in the U.K.
Back soon with another project. Should you need any crafting supplies I would be delighted to be your chosen Demonstrator. Hostess Code for the MONTH of APRIL is 9ADXSZRW.
Click here to ……………. Shop Online
Product List


